Posts tagged custom screenprinting
The Custom Screen Printing Process, Part 5 - Printing!

You've hung in there with us for 4 installments, now we're ready to get to the fun part - Printing! But before we can commit to printing our image on a production garment, we need to pull "proofs", or test prints, to make sure that everything is set correctly.  There may be minor imperfections in the registration at this stage, for example, that need to be adjusted before production can begin.   Each color is printed in sequence, starting with the lightest - often, a white underbase.  At Snarxy, we hand-print our garments on a manual printing press, which means that we use a screen printing squeegee to manually push ink through the screen and onto the garment.  After any corrections or adjustments are made, and the registration marks in the screens are covered, we are ready to for the fun part.  The production run.  The Print Train.  A garment is loaded onto the press, and production begins!

In manual screen printing, more than in any other form of printmaking, the printer's technique and physicality play a bigger role in the outcome of the final print.  This is because the person pulling the squeegee is effectively becoming the printing press.  A set of proper techniques for flooding the screen (even distributing the ink that will be pushed through) and  pulling the squeegee help to ensure a high quality print - one that is crisp, sharp, and smooth.  Before the next color can be printed, the garment must be "flashed."  Textile ink doesn't air-dry - it must be heat cured.  Flashing the garment for a few seconds partially cures the ink so it isn't still wet when the next color is printed.  This preserves the integrity of the image.  The process is repeated for each color, until complete image has been printed.  The garment is then removed from the press and put through the conveyor dryer, which is exactly what it sounds like - a conveyor belt that heats the ink to its final curing temperature, permanently setting it in the garment.  And just like that, you've completed a screen print!

The Custom Screen Printing Process, Part 4: Registration & Press Setup

We are almost ready to print!  In part four of our series, we'll be taking the screens that we just finished making in our last installment, and setting them up on the press for our production run.    By this stage, the screens should be totally dry - you won't want any residual moisture lingering around.  We give the screens a final visual inspection by holding them up to the light and looking for any imperfections in the image, as well as any pinholes or blemishes in the emulsion that might cause problems during printing.  Any pinholes are blocked with more emulsion or tape depending on their severity, and the edges of the screen along the frame are sealed with tape to prevent ink leaking out the sides.

screens canvas.jpg


 Now, we're ready to load the screen onto the press.  Each screen is clamped into one of the printing heads on the press.  Using the registration marks that we put into the image, each screen is carefully lined up with, or "registered," with each other. 

Off-contact is checked and any necessary adjustments are made -this helps to prevent too much or too little ink from passing through the screen during the print.    Then, each of the screens is loaded with the proper color of ink.  Now, the press is set up - and we are ready to pull the first "proof," or test-print.    Tune in next time!

The Custom Screen Printing Process, Part 3: Making & Exposing Screens

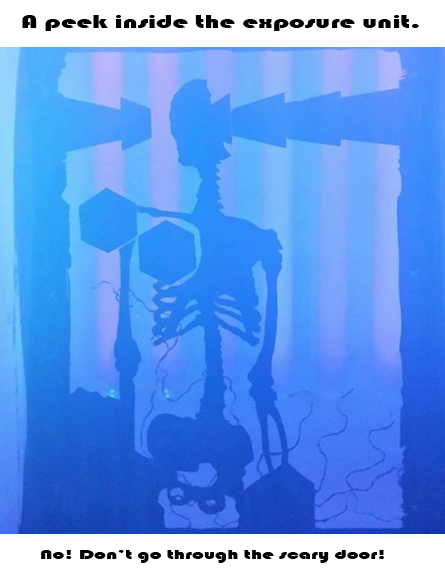
Screen printing is basically a stencil-based form of printmaking.   In part 3 of this series, we are looking at how the screens are made and turned into a stencil.  The screen is a metal frame with an ultra-fine mesh stretched  drum-tight affixed to it.  The screen is coated with a light-sensitive photo-emulsion, which basically turns it into a giant piece of photographic film, and left in the dark to dry.  Once the emulsion is thoroughly dry, it is ready to have an image exposed into it.  This is where the films come in.  The film is laid on the screen, pressed right against the emulsion.  The screen with film is then exposed to ultraviolet light.  The film acts as a light blocker; the parts of the emulsion that are exposed to the UV light undergo a chemical change, hardening and solidifying.  The parts of the emulsion that are underneath the image on the film, however, will not be exposed to UV light, and therefore will not undergo the same chemical change;  they will remain soft and water-soluble.

exposure.PNG


At the end of the exposure, a faint ghost image will be visible in the emulsion.  At this point, the exposure is complete and the image must be developed, or washed out.  The screen is blasted thoroughly on both sides with water from a pressure washer, until all of the undeveloped emulsion is completely washed away.  What is left is a stencil that will be used to print the final image on a shirt.  Now, textile ink will only pass through the areas of exposed mesh, making the screen an effective stencil for printing.  Repeat this process for each of the colors or screens that are part of the design, and then we're almost ready for the fun part, printing!

screens canvas.jpg